How to Update Your Mavic’s Firmware – The Most Successful Method I Know
July 5, 2018DJI introduces new firmware to fix bugs and release new features for your drone. This post is to show you how to update your Mavic’s firmware using the most successful method I know, via your computer, a USB cable and the DJI Assistant software. You can also update your drone using your phone or tablet and the DJI Go 4 app, however, I’ve found that many times the update will fail or hang due to a variety of factors from intermittent internet connectivity to interference. A direct cable connection to the update source seems to be the most stable option and I have yet to experience an update hang or failure using this method.
THIS POST MAY CONTAIN AFFILIATE LINKS. PLEASE SEE OUR AFFILIATE DISCLOSURE FOR MORE INFORMATION.
If you follow the steps outlined below or in the video, you should have no issue updating your Mavic successfully. Please be kind. I do not have a production studio and my only professional camera is my Mavic. Since it’s in the video I had to use my iPhone to record everything. Some of the footage is a bit awkward as I try to hold the phone and manipulate the drone, remote and cable. Let me know what you think:
 Fully Charge All Devices to be Updated
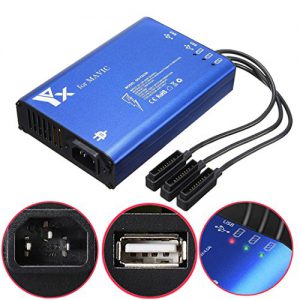
First things first. Make sure to fully charge all devices involved in the update. This is where a multi charger such as the Mavic Pro Multi Battery Charger comes in handy. You don’t want an update to fail because the device lost power before the firmware update could complete. The list of things to charge should include your Mavic batteries, Mavic remote, laptop (if using your laptop to perform the update) and battery backup (if you have one for your desktop computer you plan to use to perform the update). I mention laptop and battery backup here because, if you do have these options, they are a great safeguard against power failures in the middle of your firmware update. I know this is rarely an issue, but the added layer of security is a good thing. I’d hate to see a firmware update fail because the computer lost power in the middle of the operation.
 Make Sure You Have the Latest DJI Assistant App
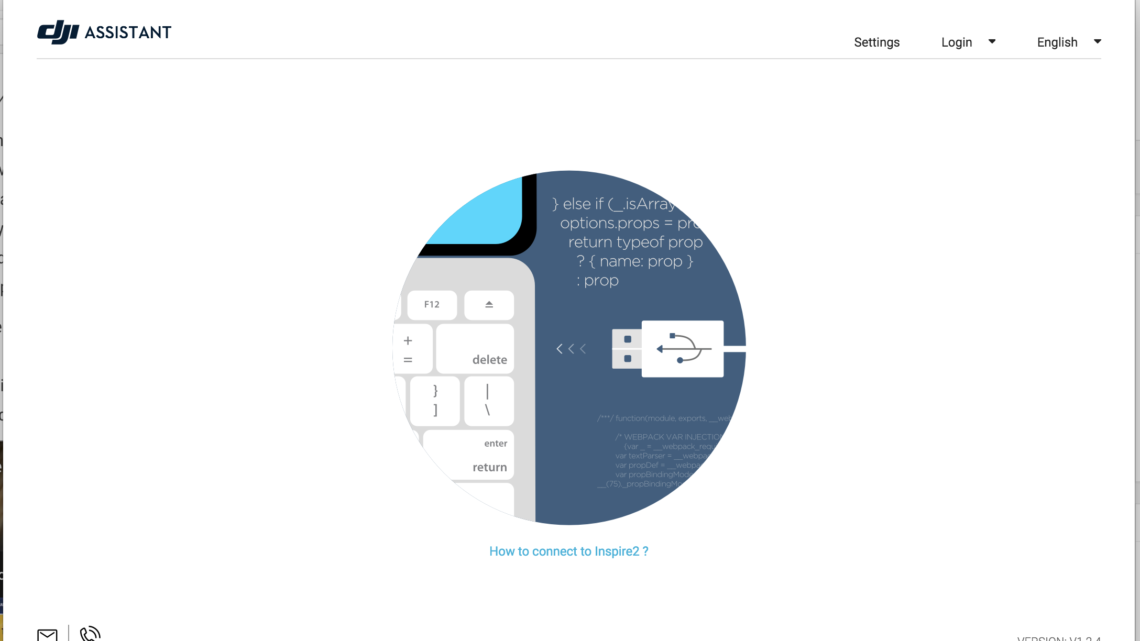
While your devices are charging, take the time to make sure you have the latest version of the DJI Assistant app. If you have a Mac, open the Assistant app. For those of you using Windows, open the DJI Assistant 2 app. Both the Mac and Windows applications will show the version number in the lower right-hand corner of the screen.
Now that you have the version number for the DJI Assistant app currently installed on your machine it’s time to check it against or download the latest release, or, if you don’t yet have the DJI Assistant application installed on your machine it’s time to go get it. To do this open your web browser and navigate to https://www.dji.com. Once there click on Consumer and then, under the Mavic Series section, click on your model (i.e. Mavic Air, Mavic Pro Platinum, Mavic Pro, etc.). From the page that loads, click Downloads. On the right-hand side of the screen, under Software, you will find the Release Notes and latest versions of the DJI Assistant software for both Mac and Windows. Here are the direct links to these pages for the Mavic Air, Mavic Pro and Mavic Pro Platinum. It should be noted that they all use the same DJI Assistant app so, technically, you can download the DJI Assistant installer from any of these pages regardless of which Mavic you actually have.
Just compare your currently installed version against the version number listed on the site. If it’s not up to date or you don’t have the application installed yet, download the latest version and install it.
 Perform the Update
OK, everything is charged, you have the latest DJI Assistant app installed and you’re ready to perform the actual firmware update. Great! Let’s get started. Please note that your remote control, Mavic and batteries (if applicable) should be on the same firmware version. Don’t pick one version for the remote control and another for the Mavic.
Updating the Remote Control
To update the remote control’s firmware follow the steps below:
- Launch the DJI Assistant app.
- Connect the USB Cable to the remote control’s side port. Make sure there’s nothing plugged into the bottom port.
- Plug the USB cord into your computer.
- Power on the remote control. The DJI Assistant app should recognize that you have connected the remote control.
- Click on the remote control icon that appears in the DJI Assistant app.
- Click the Upgrade button next to the firmware version you want to upgrade to.
- The DJI Assistant app will download the firmware update from DJI and then update the remote control.
- Once the update is complete click Back.
- Verify the current version listed is the one you chose to update to.
The remote control updates are usually pretty quick and should finish in just a couple of minutes. Once you’ve completed the steps above you will see that your remote control is now on the firmware version you chose to upgrade to. You can now power down your remote control and disconnect it.
Updating the Mavic
The steps are pretty much the same for the Mavic itself with one notable exception, remove anything that would restrict moving parts from performing their turn-on tests (i.e. gimbal locks, prop clips, etc.). Just replace anywhere you see remote control with Mavic instead.
- Launch the DJI Assistant app if you closed it after updating the remote control.
- Remove any protective restraints such as gimbal locks and prop clips.
- Connect the USB Cable to the Mavic’s USB port.
- Plug the USB cord into your computer.
- Power on the Mavic. The DJI Assistant app should recognize that you have connected the Mavic.
- Click on the Mavic icon that appears in the DJI Assistant app.
- Click the Upgrade button next to the firmware version you want to upgrade to.
- The DJI Assistant app will download the firmware update from DJI and then update the Mavic. The Mavic will reboot one or more times at the end of the update to complete the installation.
- Once the update is complete click Back.
- Verify the current version listed is the one you chose to update to.
The Mavic updates usually take substantially longer than the remote control ones and can range from 5 to a little over 10 minutes to complete. This is why your batteries should be full before performing a firmware update. Don’t panic if the update appears to hang at a certain percentage for couple of minutes. It should continue to climb after a while. Once you’ve completed the steps above you
will see that your Mavic is now on the firmware version you chose to
upgrade to. You can now power down your Mavic.
Updating Additional Batteries
Sometimes firmware update releases will also update the firmware in the batteries. Usually the release notes don’t mention this so it’s hard to tell when an update addresses the batteries too. To see if a firmware update addresses the batteries as well take the following steps:
- Update the Mavic using the steps outlined above.
- Back out to the first screen of the DJI Assistant (the one with the Mavic icon).
- Turn off your Mavic. The Mavic icon should disappear from the DJI Assistant window.
- Swap your Mavic battery with one that hasn’t been updated.
- Power the Mavic back on.
- Click on the Mavic icon that appears in the DJI Assistant app.
- Wait a few seconds (say 30 or so).
If there is an update for the batteries you should see a Firmware Mismatch alert pop up. If so, perform the update again just as you did in the Updating the Mavic steps above and repeat this for each battery you have. If not, you’re done! Just power down the Mavic, disconnect it from the computer and close the DJI Assistant app.
Verify the Update and Check Functionality
As you saw in the DJI Assistant app, when the update is complete and you hit the back button, it will display your device’s current firmware version and should now confirm that your device is on the firmware version you selected.
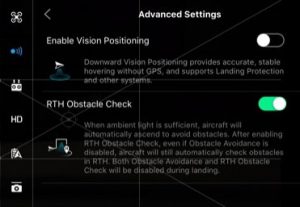
The next step is to verify everything is functioning as it should. Take the drone out and put it through its paces to make sure the update didn’t affect the way you use it. Also take the time to double-check preferences and settings as firmware updates can sometimes change or reset them. Make sure you check for new settings or features as DJI will sometimes sneak something in and doesn’t always announce it.
If you are having difficulty upgrading your Mavic’s firmware using this method (I hear that Windows 10 has been difficult for some) check out Heliguy’s post on how to update the Mavic firmware using the DJI Go 4 app for the Mavic Pro or the Mavic Air.
Conclusion
There you have it, how to update your Mavic’s firmware. This really is the most successful method I know. I’ve gone through many firmware updates and have never run into an issue doing it this way.
I hope you found this post helpful. If you find an error, notice a step I missed, have a better way, simply love it and want to let me know, or anything else, please leave a comment below. I read and respond to each one.
Thank you,
Scott Hinkle
MavicManiacs.com



I am really such a dunce at understanding these sorts of technical explanations, but you have methodically done a great job of it. The writing is clear, but the video really brings it all home.
Currently I am still in the research phase of trying to decide which drone I would like to purchase. You have made a strong impression and I will look around further in your site to get some ideas. Thanks.
Thank you for commenting. If you find yourself leaning toward DJI, check out my DJI Mavic – Which One to Choose post.
Hi Scott, this post saved me! I work in a tourism agency and they bought one of this drones and they did not know how to update it like you said there are other ways but I’m scared of making any mistakes. This article is very useful it has everything you need to know and also a video to follow, thank you so much. We did not have the app installed I’ll check it out the model and download it 🙂
Glad I could be of help! The USB method has never failed for me. I hear all the time about people having issues using the phone or tablet app and trying to update. Every now and then I hear of someone with the USB option failing for them but it’s very rare.
I hope you get a lot of enjoyment from your drone and look forward to seeing you on here again!
I was planning to buy the Mavic this Christmas for my dad. I think I will need this information to update the firmware. This article tells you step by step about updating the firmware for the Mavic drone. And especially the video shows exactly what has to be done. Thank you for this article now it going to be easy for me to update the firmware.
Any time man. There are a couple of ways to perform the update but this particular way has never failed me and I’ve performed many updates. I believe it to be the best way to go.
Thank you,
Scott
Hi, I my magic pro platinum’s 4 days old and when the controllers turned on it just keeps flashing “connecting” to but doesn’t connect to shit!
Is your Mavic set to RC OR WiFi? That’s the first thing I’d check. It’s a physical switch on the drone itself. Also make sure the drone and remote are on the same version of firmware. If that doesn’t work you might need to pair the remote and drone. Check this out: https://www.youtube.com/watch?v=G52F4hlR4MA